Playwright project setup is the first and most important step when building a real-world automation framework. In this guide, you will learn how to setup a Playwright project step by step using the same structure followed in real company projects.
Why Playwright setup matters in real projects?
Playwright setup matters in real projects because it ensures your automation is scalable, maintainable, and reliable as test suites grow. A strong setup enables fast parallel execution, stable tests, and smooth CI/CD integration, reducing flaky failures and speeding up releases. In short, a good Playwright foundation turns test automation into a long-term, production-ready quality solution.
Why bad setup causes flaky tests?
Bad setup causes flaky tests because it leads to unstable waits, poor locator strategies, hardcoded data, and weak environment handling. Without proper retries, tracing, and synchronization, tests fail randomly due to timing issues, network delays, or UI rendering differences. This makes failures inconsistent, hard to debug, and unreliable in CI pipelines.
Prerequisites for Playwright Project Setup
Before we start with the installation lets look at the essential prerequisites for installing and working with the Playwright framework in a real-world automation setup.
- Install Node.js & npm
Playwright is built on Node.js. If Node.js and npm aren’t installed on your computer yet, you can download it from the official website: https://nodejs.org/en/download . Npm is installed automatically when we install node.js
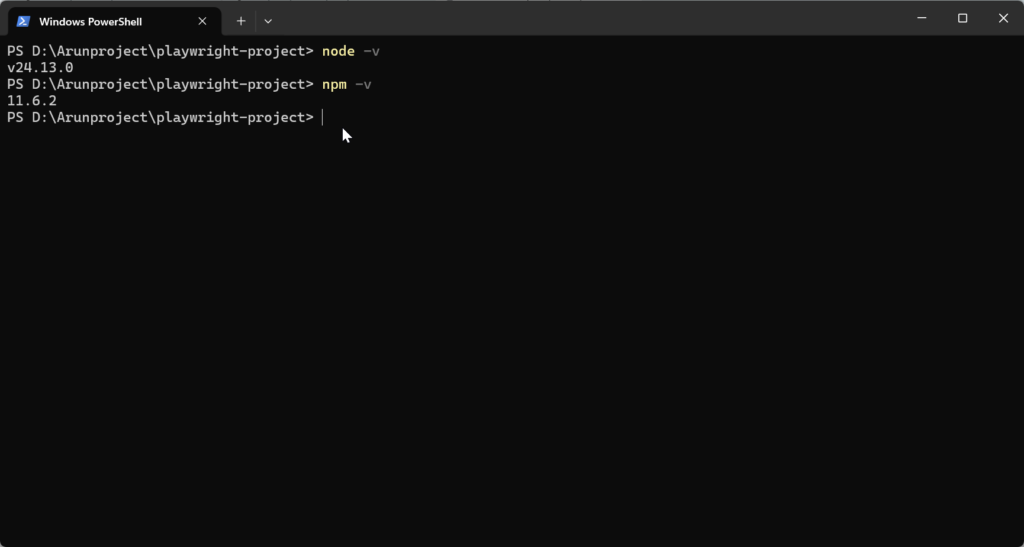
After installation, open Command Prompt (Windows) or Terminal (macOS) and check:
node -v
npm -v
You should see version numbers if they installed correctly.
- Install Code Editor
VS Code is highly recommended because it offers the best support for Playwright with features like built-in debugging, test runner integration, auto-completion, and powerful extensions. Alternatively, IntelliJ IDEA or WebStorm are also excellent choices.
You can download it from : https://visualstudio.microsoft.com/downloads/
Installation Steps :
Step – 1 : Create a New Project Folder
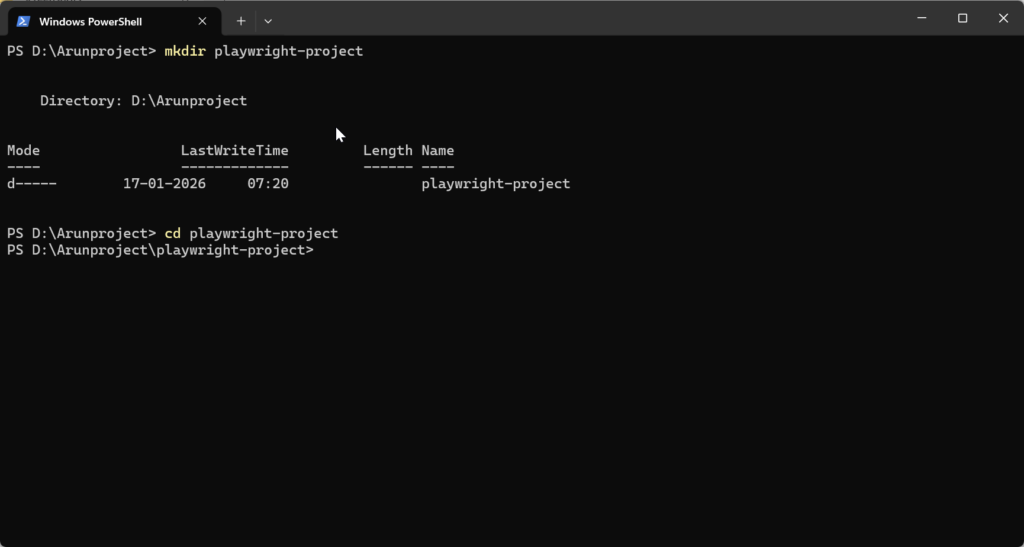
Open terminal / command prompt and run:
mkdir playwright-project
cd playwright-project
mkdir playwright-project – This command creates a new folder (directory) named playwright-project
cd playwright-project – This command moves you inside the newly created folder
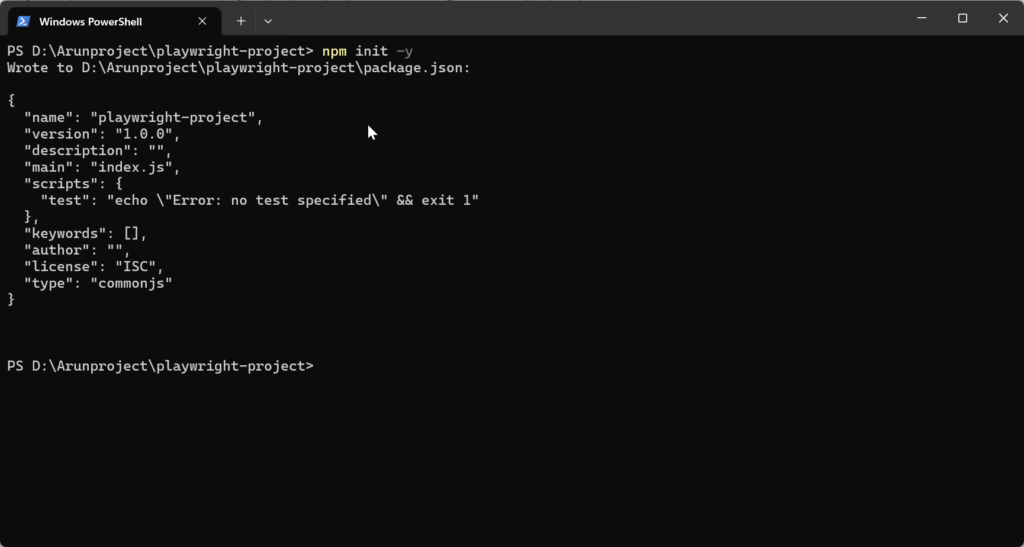
Step – 2 : Initialize a new node project
npm init -yIt automatically creates a file called package.json in your project folder.
This file:
1. Stores project information
2. Manages dependencies (like Playwright)
3. Contains scripts to run tests
4. Helps with version control and CI/CD
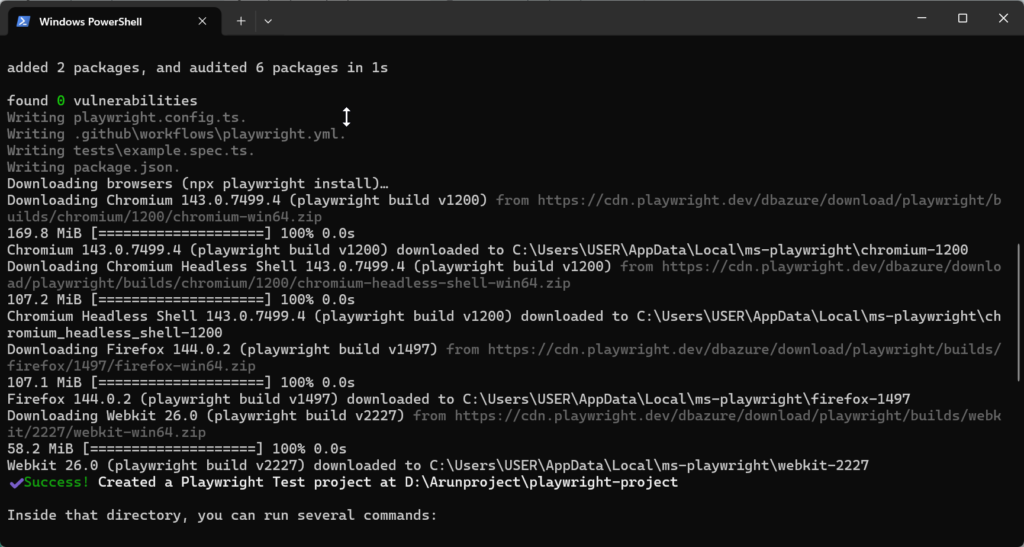
Step – 3 : Install Playwright
npm init playwright@latest
When you run this command, it automatically:
- Installs Playwright and Playwright Test
- Downloads required browsers (Chromium, Firefox, WebKit)
- Creates a ready-made project structure
- Generates sample tests
- Adds Playwright configuration file
- Optionally sets up GitHub Actions for CI
Project Structure
Now since installation is complete, lets understand the structure of the framework created by playwright
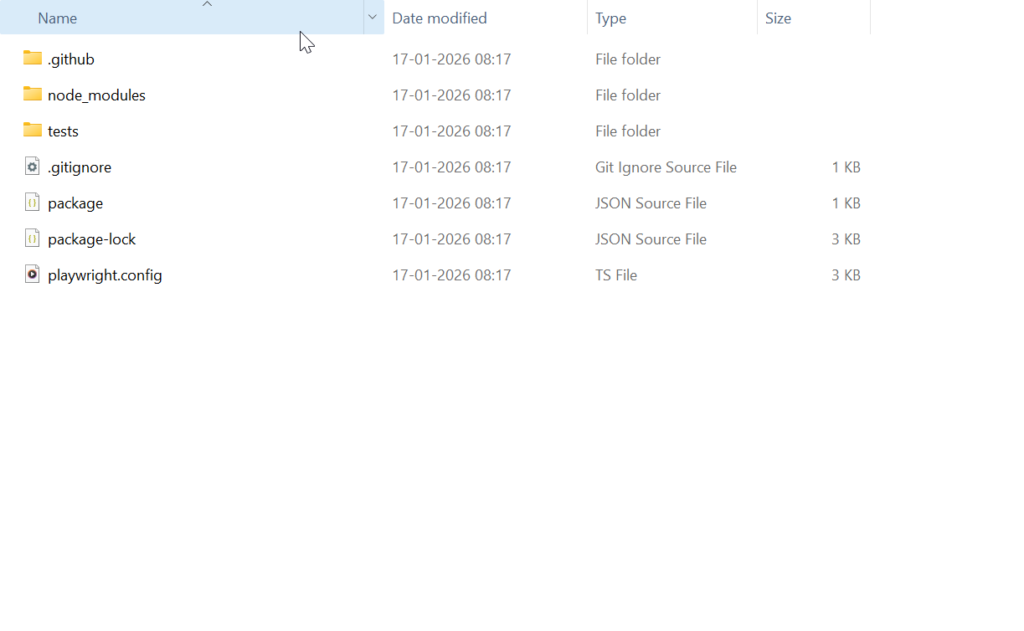
.github
This folder is used for running your Playwright tests automatically in GitHub. Whenever someone pushes code, the tests will run by themselves without manual effort
node_modules
This folder contains all the project dependencies needed for your Playwright project to run. It is created automatically and you should never modify anything inside it.
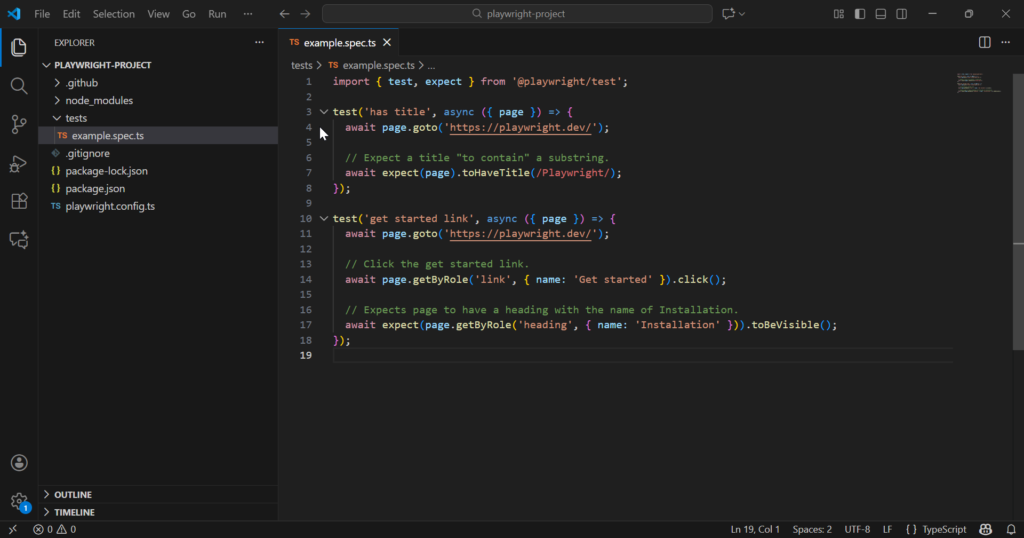
tests
This is where we write all our Playwright test scripts. Playwright looks into this folder and runs all the test files present here. You will create all your UI and API automation tests here . By default you can see there is already a sample test available
.gitignore
This file tells Git which files and folders should not be uploaded to the repository. We use it to avoid pushing unnecessary files like node_modules and test reports.
package.json
This is the main configuration file of the project. It keeps track of Playwright and other dependencies and also stores commands used to run the tests. It contains :
- Project name
- Dependencies (Playwright)
- Test scripts
- Version info
package-lock.json
This file locks the exact versions of all installed dependencies. It ensures everyone in the team uses the same versions and avoids compatibility issues
playwright.config.ts
This is the main Playwright configuration file. It acts as the control center of the entire automation framework. It controls
- Browser settings (Chrome, Firefox, Safari)
- Parallel execution
- Timeouts
- Retries
- Reporters
- Base URL
- Screenshots & videos
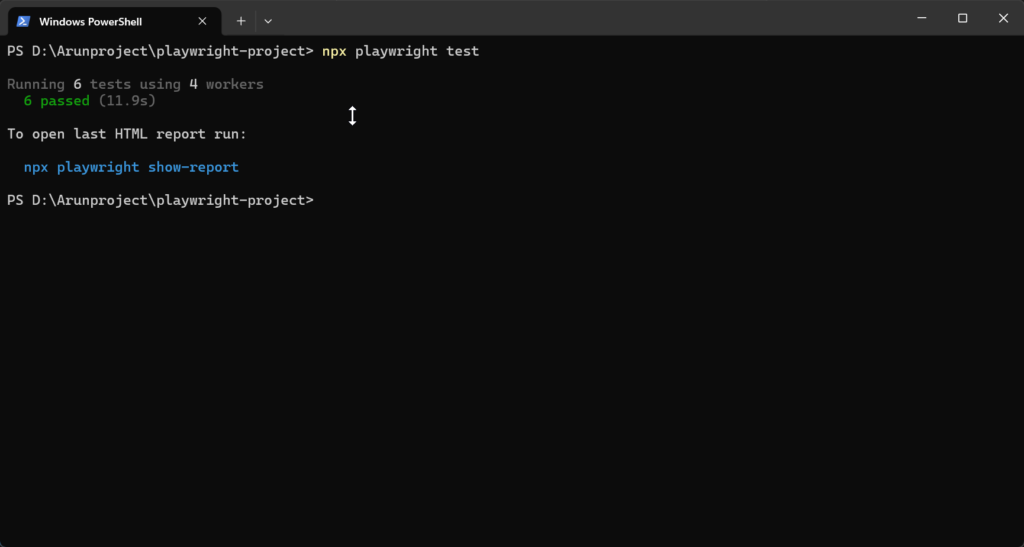
Run First Test
npx playwright test
When you enter this command in a terminal , Playwright will:
- Look inside the
testsfolder - Find all test files (
.spec.tsor.spec.js) - Launch the browsers
- Execute the tests automatically
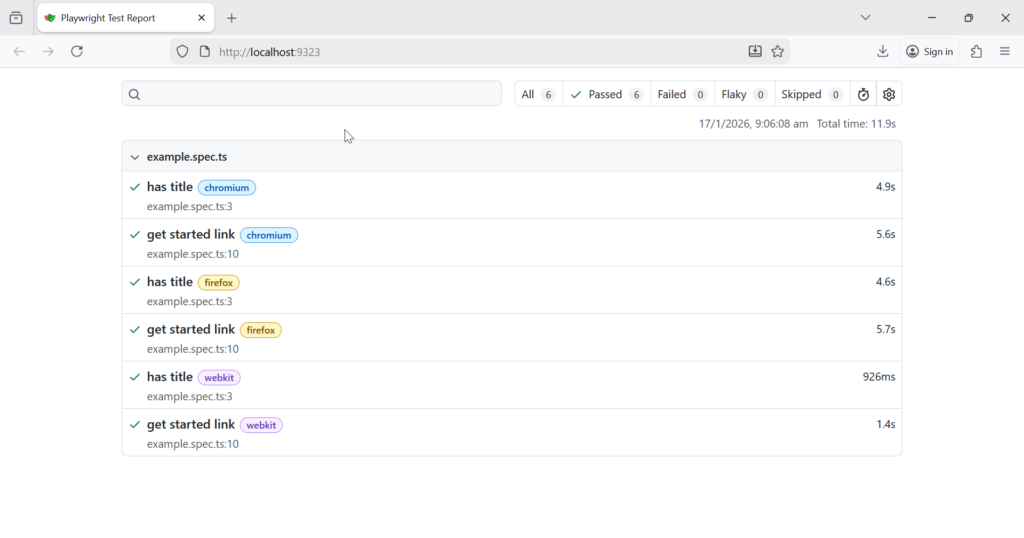
- Generate a test report
If you want to run a specific file you need to enter file name after the command
npx playwright test tests/login.spec.ts
You would have observed that browser didn’t open in screen , all the test execution happened in the background, this is called headless execution. Headless execution in Playwright means running your automation tests without opening the browser on the screen. The browser runs silently in the background, making the tests faster and ideal for CI/CD pipelines where no display is available. This is the default mode used in real projects to save time and system resources while running large test suites
Common Mistakes
Now since the playwright project setup is complete and we have triggered our first run, let’s look at some of the common mistakes people make while installing Playwright:
1. Node.js Not Installed or Old Version
Many users try to install Playwright without installing Node.js or with an outdated version. Since Playwright depends on Node.js, this causes installation or runtime errors.
2. Skipping Browser Installation
Sometimes browser download is blocked by firewall or proxy especially in corporate network, in that case some users might need to manually install browsers (Chromium, Firefox, WebKit) but forget . To install it manually :
npx playwright installIf you want to install one particular browser you can use ‘npx playwright install chromium‘
3. Running Commands Outside Project Folder
Running Playwright commands outside the project directory leads to missing config and dependency errors. Always run commands inside the project folder.
4. Missing package.json File
If npm init is skipped, the project won’t have a package.json, which is required for managing Playwright and scripts.
5. Firewall or Proxy Blocking Downloads
Corporate networks often block Playwright browser downloads, causing installation failures. In this case user needs to use proxy settings to bypass the network. Ask your IT team for proxy details and run:
npm config set proxy http://username:password@proxy-server:port
npm config set https-proxy http://username:password@proxy-server:port
Then retry :
npm init playwright@latest
6. Using Global Install Instead of Project Install
Installing Playwright globally can cause version mismatch issues between team members and CI servers.
7. Not Verifying Installation
Many users don’t run npx playwright test after installation, so issues remain undetected until later.
Interview Tip: Playwright Project Setup
In interviews, don’t just say “I installed Playwright and wrote tests.” Interviewers look for engineers who understand real framework setup, not just tool usage.
A strong answer should sound like this:
“First, I initialize the project using npm init playwright@latest with TypeScript. Then I organize the framework using Page Object Model, create reusable utilities and custom fixtures, and configure environments through playwright.config.ts. I enable parallel execution, retries, HTML reporting, screenshots, and video recording. Finally, I integrate the framework with CI/CD like Jenkins or GitHub Actions so tests run automatically on every build.”